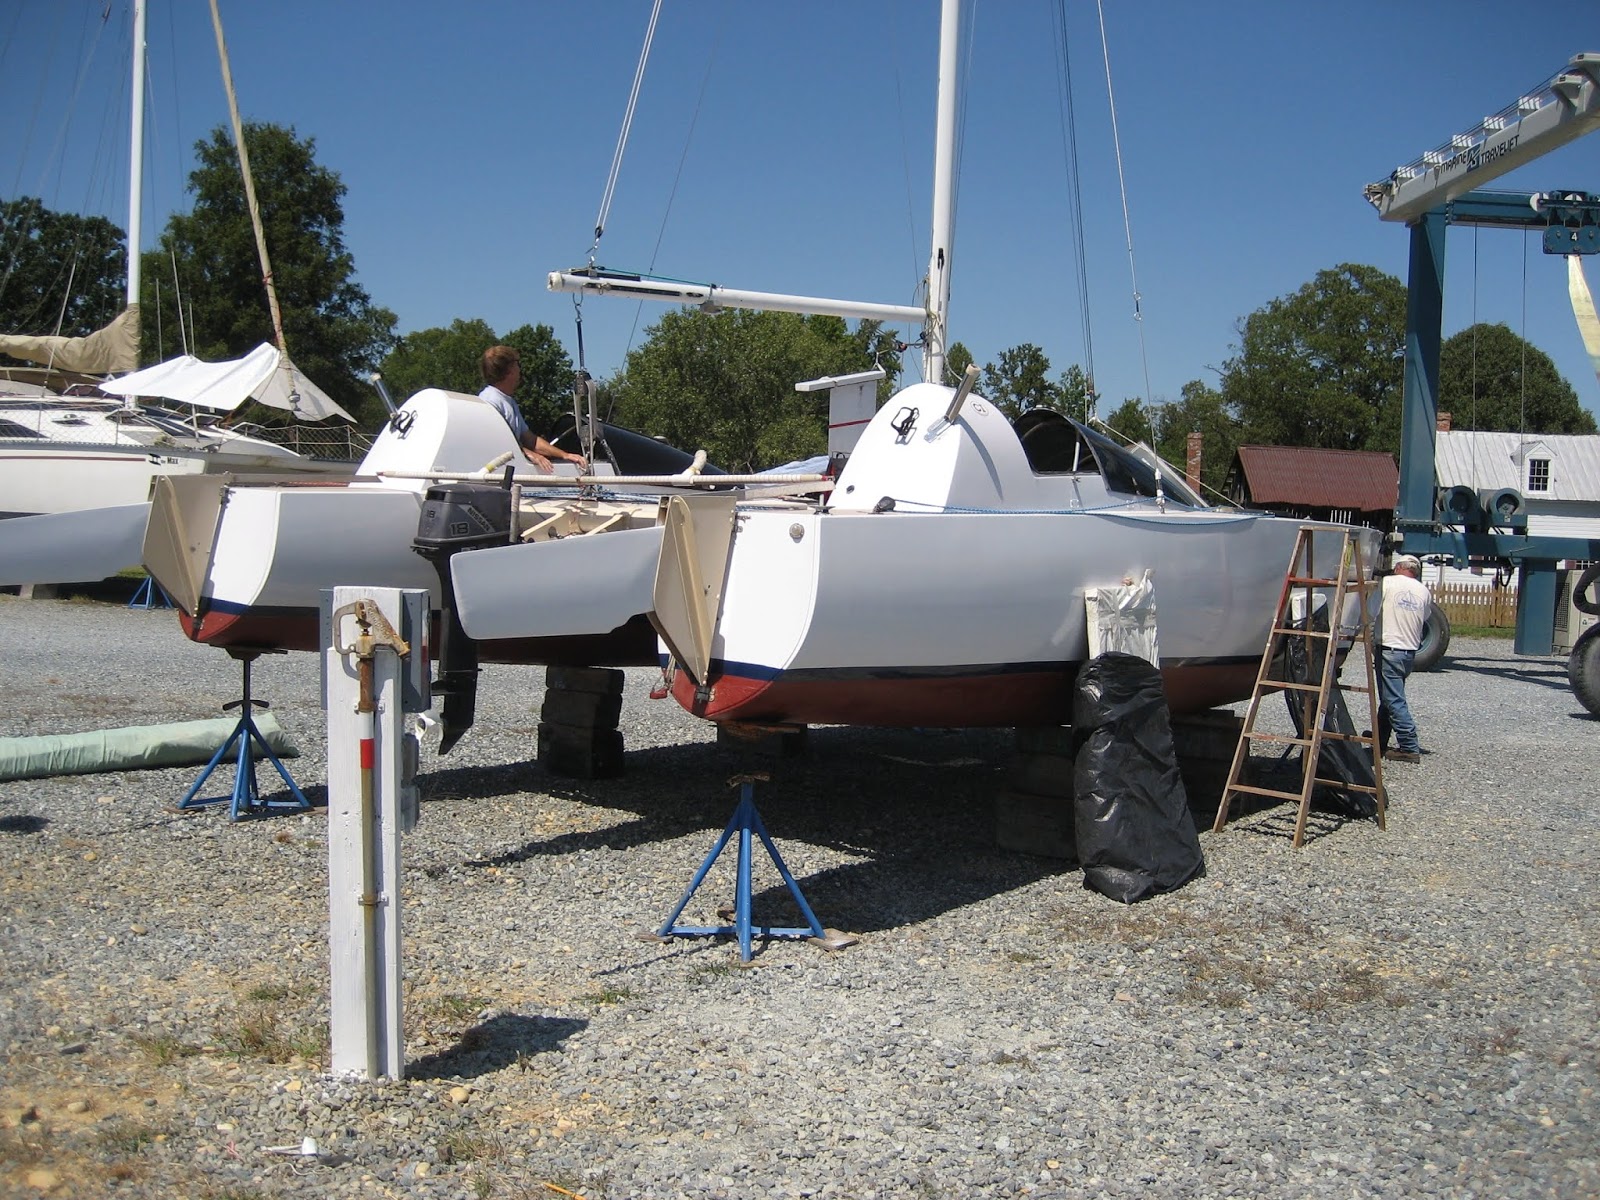
Twice before, in 2006 and in 2007, my daughter Jessica) and I had sailed around the Delmarva Peninsula, stopping at many small harbors along the coast and Bay, and stopping for a week to visit with her grandparents in Cape May New, Jersey. They've been wonderful trips, made adventuresome by the high strung nature of our boat; we had a 1979 Stiletto 27; even though modified for cruising, it was probably the fastest boat of its size. It would easily motor at 10 knots loaded down, could sail at over 20 knots, and became a bit frightening anytime the wind gusted over 20 knots. It was very shallow draft and could go anywhere, but was not accommodating. Living in narrow hulls with no bridge deck is rather like trench living with a view. There was certainly no room on the boat for our whole family. Great father-daughter times.
This winter we bought a new ride, a PDQ 32 Altair. Although not physically much larger, simple comparisons of length and beam are deceptive. The PDQ is a very ruggedly built blue water catamaran and is about as accommodating as possible of that length without unduly compromising seaworthiness or performance. There are two cabins with closet space and queen-size mattresses. There is a galley with refrigerator, stove and microwave. There is a head with a stand-up shower. And there is a comfortable salon for that all-important un-wind time at the end of the day and after dinner. For the first time my wife (Laura) would be able to experience, in a way, what my daughter and I had experienced on the Stiletto. Unfortunately, you can never recreate a first trip of discovery and never recapture time past.
Day One. Deale MD to Solomons Island MD. 40 miles.
To ensure an early start, my wife and daughter drove from our home in Vienna, VA to Deale, MD the night before and I joined them there, flying in from a business trip late into the evening. It was nice that they could get settled in the afternoon rather than feeling pressed in the morning to put everything away and hit the road. Very nice.
As is the custom, I was up at first light and hit the road, without rousing the rest of the family. Lamentably, there was no wind at all, and I began the long slog down the Bay. Sailors always lament not being able to sail, and I agree with that, but early in the morning when the waters flat and no boats are out, it's delightfully relaxing with the boat on autopilot have a leisurely breakfast as the miles melt away. Not stimulating, not challenging, but peaceful.
>
In the past we've stopped in at Calvert Cliffs to enjoy little fossil hunting. I was looking for something different this trip, as I had been there enough times. I spotted a small and isolated beach some miles north of Calvert Cliffs and motored in for a closer inves

tigation. We: by this time my family was up and about. We found 6 feet of water about 200 yards from shore, anchored in hard sand, and Jessica and I dingy over to the beach. There were no houses for quite some distance on either side, so I reasoned it was either a park of some manner or simply unused land. I spotted a sign on the beach from the big boat, but it was too far to read even with binoculars. I reasoned the sign would reveal the ownership status of the beach.
It turned out the sign was a warning to proceeded no wake speed up the creek. The creek was only 6 inches deep low tide. The canoe country.
Parker's Creek / Warriors Rest is one of the nicest hidden beaches on the Chesapeake Bay; however, it is restricted access. It is operated by the American Chestnut Land Trust and as a wildlife refuge specifically targeted at protecting certain endangered insects. It seemed reasonable amount to enjoy the beach and to enjoy fossil hunting along the cliffs to the south. I hope any who follow in our footsteps know enough to walk lightly and to stay on the beach.
During our absence on the beach the wind came up nicely and we enjoyed pleasant close reaching and beating down towards Solomons Island. I chose a course between the Calvert Cliffs nuclear power station and the Cove point LNG plant, taking the opportunity to show the sites to my wife.
Just a few hundred yards north of Drum Point another attractive beach called to us. Drum point offers a nice park, clean sand in clearwater, and a pleasant tidal creek that alternately fills and drains Drum Point Pond. When the tide it is rising is delightful to sit in the creek and enjoy bay water rushing over your legs, watching crabs scurried this way and that. It is an easy walk on a hard sand bottom in ankle to knee-deep water from the Bay to near the pond, and this stroll is highly recommended on a hot day.
Our traditional anchorage for the night has always been in Mill Creek, heading just north out of the Solomons Island Harbor. The first night out we seldom choose to stay at a marina. Quiet is nice the first night. I did dingy over to the Solomons Island Tiki Bar with Jessica. Quite the scene. For smaller boats, they have free dockage available.
Day Two and Three. Solomons Island to Tangier. 40 miles.
Small craft advisory conditions, all day. Right on the nose.
This was probably the first real sustained test of windward bashing and strong conditions for my new boat. It passed with flying colors. At 20 knots true she rests just on the edge of wanting a reef, and with the sails trimmed full-and-by, the autopilot will easily steer for an hour at a time, the boat making 8-10 knots, though the motion can be a bit much after a time. There is always some concern on a small catamaran that waves will slam the underside of the bridge deck; this is not the case with the PDQ. There were a few slaps, to be sure, but the hard impacts were 15 minutes apart, and only occasionally did the front beam plow into an especially steep wave. The boat would slow to about 6.5 knots and then slowly accelerate to 8 knots. Bracing.
We did pull a winch out of the deck, trimming the genoa under full load. We didn’t lose the winch—she just lifted a bit and made crunching noises. I quickly transferred the sheet to a matching winch next to it. Later discovery, weeks later, confirmed my suspicion; this one winch had been owner-added on a cored deck without adequate backing. I was surprised, though, when I saw that not even simple washers had been placed under the nuts! The nuts simply punched into the foam under what must have been the greatest strain the winch had seen. The factory installed winches were installed with big fender washers into a solid glass area of the deck, reinforced for winch mounting. I reinstalled the winch with and over-sized FRP backing plate.
Because hurricane Bill was still tromping just offshore, we chose to spend two days in Tangier rather than to hurry on down to Cape Charles. Cape Charles is pleasant, but it is pretty dead. Even compared to Tangier.
I don't know how to describe Tangier. So much has been written. It is described as cute, as old English, as a traditional waterman's town; none of these truly fit. Perhaps they all fit, in parts. Many of the residents’ lives revolve aroun

d the tourist trade these days, and that's not traditional. Many of the residents seem to resent the tourist trade; they seem to resent life in a bottle, being looked at and pointed at. Many not involved in the trade are standoffish, and that's easy to understand. Still, I think you would need to spend a month in Tangier to feel that you understood it. You still wouldn't belong there. But don't for a minute interpret these words to mean I feel that any of the people are unpleasant. That's not true. It seems only that the gap between cityfolk involved in commercial enterprises and islanders married to the water is so great that it surpasses any simple description.
We found plenty to do. There's a wonderful swimming beach at Tom's Hook. IT is about a 1-mile walk through town from the docks. A town carnival, The Reunion, was in progress as we visited. Few small fireworks. Carnival rides were provided for the kids, all inflatable because traditional carnival rides could not reasonably be delivered to the island. The bull ride was particularly fun to watch, as it was clear that everyone knew everyone, and the dares through fast and thick. Funny; the girls seemed to do best, as they kept their weight forward over the center of gyration.
Another family of cruisers arrived with a boat full of children—my daughter immediately set about entertaining them in guiding them around the island, being an old hand after several visits herself. Fishing, critter hunting, a trip to the carnival, all with Jessica as tour guide for the whole family!
Spanky's ice cream store and the Fisherman's Cove restaurant are very reliable. The General store, 50 yards from the dock, has ice and groceries.
Day Four. Tangier to Cape Charles. 40 miles.
No useful wind. We sailed a few miles from Tangier to just south of Watts Island, but then it went light. We slogged on down to the harbor and slid alongside the bulkhead just past the fuel dock. Cape Charles is typical of the marinas found up Delmarva Coast; it is a state run Marina that serves both recreational and commercial fishing interests, with work boats along the bulkhead and a mixture of work boats and recreational boats between piers. There is a full-time harbormaster and modest facilities.
Perhaps it is just the old part of town, part of town closest to the marina and the part we see each visit, but at least old Cape Charles is dying. Every time we visit it seems that 2 or 3 more stores have closed up, or have been replaced by another venture that is on the verge of closing up. The only restaurant to remain successful—and it's a dandy—is Kelly’s Ginger Nut Pub on Main Street near the water. There's a hardware store, a few knick-nacks stores, and a handful of real estate offices. I guess new houses and condos are selling at the other end of town.
The star attraction, from my daughter's point of view, is hunting the gigantic hermit crabs that inhabit the boat ramp area. Typical of
Atlantic Coast beaches are small hermit crabs that inhabit periwinkle and small moon snail shells. The hermit crabs of
Cape Charles inhabit conch and welk shells

as long as 8 inches! She collects them by the dozen and watches them walk along the wooden docks between boat ramps. We keep a small aquarium on our boat—one of those 3 gallon hexagonal aquariums available in every dimestore. It is a perfect fit for the shelf in her cabin and it allows us to keep a little ecosystem of things that she's collected throughout the trip. Much better than a bucket with a few smelly shells and easier to mange. She's a budding biologist and has a strong interest in the found at the water's edge. We spent hours slowly maneuvering our tender along bulkheads and beaches, cataloging algae, kelp, sponges, sea squirts, and all of the fish, mollusks and crustaceans that call the boundary water home.
Note: If you are going to try a small aquarium you will need to keep the water level lower so that it does not splash underway. Shorten the air lift tube by several inches so that it still functions properly.
Day Five. Cape Charles to Chincoteague. 85 miles.
It wasn't our initial intention to do this as a passage. I would've started even earlier and pushed for more speed. I hope that the two visit one or more of the inlets in between—Sand Shoal or Wachapreague—but the swells from hurricane Bill had caused every inlet from Cape Charles to Lewis to break, including Ocean City. The swell was not uncomfortable in terms of sailing. It was very long-period and not rough at all. Initially there was enough wind to sail, from Cape Charles, around the point, and some way up the Atlantic coast, but as I realized how far we would have to go to reach harbor, motoring became necessary. Very necessary, it turned out.
Alone. We saw only 2 other boats on the passage from Cape Charles, until we neared Ocean City. Miles of quiet, wild beach, in the distance, though. With a swell running it was prudent to stay a good 2 miles out.
As I said, the swells seemed very calm. I called the Wachapreague harbormaster to inquire about the condition of the inlet. He said it wasn't a problem at all, but that no one had been out that day. Hmmmm. I decided to get closer to one of the sandbar areas where I could see the swell breaking, to get a feel for what depth was dangerous. I got a trifle too close. Before I reached the selected bar, with every hatch open, still in 20 feet of water, we took an enormous breaker the full length of the deck. It seems a few are much larger than the average and break in deeper water. No damage, but everything was soaked. Most critically, my wife's blood glucose monitor stopped functioning, and as she has little ability to sense fluctuations in blood sugar without monitoring, she can easily pass out and the Atlantic off Wachapreague is a poor place to have an emergency. We need to get to an inlet where we could reach a pharmacy. No options.
I hadn't planned on passages long as from Cape Charles to Chincoteague. We were prepared for this possibility, of course. It would have been no real strain to continue to Cape May through the night, but we need to get to a pharmacy sooner than that. The immediate danger was that we would reach Chincoteague just at dusk and have to run the channel in the dark. Though I've always felt that the Chincoteague entrance is a very safe in daylight, completely resistant to the effects of swell, running it at night is a different matter. Some of the markers are not lit, it is critical that you locate all of them, and there are sandbars all along the twisting approach. I called the Chincoteague Coast Guard; it is the headquarters station for operations between Lewis and Cape Charles. I explained our situation— that although we had no immediate emergency, we needed to reach the pharmacy that evening and I wanted clarification on the condition of the channel. They took all the relevant information, gave extremely detailed information on marker positions and on one marker that was out of position due to the recent storm, and offered to provide any additional assistance as needed it and we got closer. Very professional. But everything went well, we met with no delays and were able to run the inlet just as the sun set. We tied up behind the Chincoteague Inn (good restaurant, both informal for lunch, informal for dinner) and I did the speed walk to the pharmacy.
Notes: the new town marina is nice, with power, water, and showers nearby, but getting in the piers with the tide is trick to impossible. There is one good bulkhead spot. The others are for trawlers, leave you far out, and have no power. The only marina with any draft (over 3' at MLW) selling gas quit. IF you stay at the town dock, however, it is only about 150 yards to a Valero gas station. The swing bridge is being moved about 1/2 mile north. This will put all of the marinas on the ocean side and reduce openings. Construction should be complete about February 2010.
Day Six. Rest.
With northeast winds forecast for the day and west winds for the next, why fight it?
Lacking wheels—we could have rented these just down the road but we elected to stay together as a family on the waterfront area—there is really not far to go on Chincoteague's front street. Main Street is populated by restaurants, nick-nak stores, and a few bookstores. Jessica and I made a run up to the pharmacy once again to collect a package of medical supplies that is been sent overnight in which they have been so gracious to accept. Homemade ice cream store on the way back from the pharmacy call to us required a substantial detour, at least in terms of time.
A lazy day.
Note: we have rented bikes in the past and there is plenty to keep you bust for an afternoon. The beach at Assateague is a few miles down Maddox Boulevard - there are good bike trails there, weaving through the sanctuary - and there are plenty of streets to pedal in Chincoteague.
Day Seven. 125 miles.
By unanimous consent we decided to skip Ocean City. Jessica and I have been there twice, and found it has little to recommend it. The harbor is subject to surge, it's noisy, and we're not boardwalk people. Fortunately, the wind gods concurred with our decision and provided steady broad reaching conditions all the way to Cape May. Not strong winds, mind you. Only about 10 to 12 knots and just enough to keep the boat moving at 6 knots or so. We had already resigned ourselves to a nighttime arrival in Cape May, and having only visited Cape May about 35 times and only arrived at the ferry terminal entrance (Cape May Canal) about 40 times I was fairly certain I would have no difficulty.
Really, on a long transit like this there's very little to report. We saw dolphins a few times. We watched the para-sailors off
Ocean City. We saw the ongoing construction of the new bridge at
Indian River. All my trips with a Cherokee son I was unable to enter Indian River Inlet because of a 35-foot bridge in the 40-foot mast. Now they are raising the bridge to 45 feet and I've purchased a boat with a 49-foot mast requirement. Darn.
A minor but significantly irritating design flaw of the PDQ Altair is the mechanism for raising and lowering the outboard engines. It is done with a system of ropes and pulleys, and of the engine latched becomes corroded or if the operator allows a little too much slack in one of the ropes while lowering—and this is easy to do if the boat is sailing while the engine is lowered—the rope can get wrapped around the prop. Sure enough, I went to start the port engine near the mouth of the Delaware Bay and found it fouled. Since we would be crossing the Delaware in the dark and I would be both engines in order to maneuver safely through the canal (there are very strong currents at ebb tide) I need to go for a swim immediately to sort things out. No hesitation. And I learned it in the 200 miles in the past since Cape Charles the water temperature had dropped dramatically. Fortunately, the tangle was very minor and only took a few moments to straighten out.
The rest of the crossing was uneventful. Very little shipping or recreational traffic. We were able to follow a ferry into the Cape May Canal, which turned out to be very useful. Though I have entered the canal many times, I never entered at night. The shore lights make it nearly impossible to pick up the entrance markers from a distance. Following the ferry made it very straightforward, even though he was miles ahead, because as he entered the canal he blocked all of the shore lights and made spotting the markers much easier. A few words of caution to other sailors transiting the canal at night: there is a pipeline area and dock on the north side just a fraction of a mile past the ferry landing marked by a fast red flasher - that flasher is not a channel marker and you should stay to the south of it; the railroad bridge has a substantial current under it you should try to hit it well centered and at full throttle - it can be as much as 3 knots at peak ebb; there are buoys in the water marking a side channel just before the canal reaches the Cape May Harbor - watch out for these as they are not lit. There are several other buoys in the canal as well, toward the sides. Keep sharp lookout.
We chose to anchor near the Fisherman's Memorial at the far south end of Cape May Harbor, in the midst of a small mooring field used by pocket cruisers. This is only recommended for fairly shallow draft boats. When we arrived we had about 6 feet of water, but by low tide this had dropped to less than 4 feet. Larger boats will want to anchor near the Coast Guard facility further to the north. Also the harbor is large and can be rather rough in strong north winds, particularly where it gets shallow at the south end.
What a glorious place to anchor, though. Morning came with light northeast winds and a break in the oppressive humidity is been a constant companion during this trip. We're surrounded by small boats: some beautiful and classic wooden day sailors, some older fiberglass boats, some shattered dreams - boats in need of more repairs than they will ever receive. To the east lies the lobster House and the Cape May fishing fleet. To the south a delightful wild beach that brackets the Cape May Fisherman's Memorial. To the east, a small beach and behind that the Cape May Nature Center.
The beach by the F

isherman's Memorial is a favorite Jessica's. As soon as she wiped some sleep from her eyes, found a quick bit of breakfast and her last few clean-ish clothes, she was of in the dingy to tour the harbor and the beach. I joined her of course, always the little kid.
By early afternoon we move the boat over to the marina where we intended to stay; South Jersey Marina. It is a bit higher priced than some of the other marinas, but it is very nice, convenient to everything, and is well suited to catamarans with lots of bulkhead space available. Ever since I bought my new boat, though only 32 feet long, I've often felt that I was showing off. Don't like that feeling. I would rather have a simple boat that is not ostentatious at all. I only bough the PDQ because I liked where she could take me. I like the Stiletto because it was so minimal and always “comfortable” in out-of-the way spots. Quirky, perhaps, but not ostentatious. Well, South Jersey Marina is all about being ostentatious. We shared the bulkhead with a 125-foot megayacht, which was flanked by two smaller megayachts, only 94 and 110 feet, and a 75-foot Viking sportfishing yacht. Each had a crew in charge of keeping the yacht perfectly clean. Immediately upon docking they would turn out with hoses and buckets and squeegees, for they had to was AND dry their charge. In fact, after one short absence I came back to find that all of my dock lines, my hose, and my shore power cord had been recoiled to more picturesque standard. Oh my.
We stayed in Cape May for a week, visiting with Jessica's grandparents and enjoying this wonderful Victorian in seaside resort. We went day sailing on two occasions, taking my parents and friends on short trips around the immediate area. We did all of the things tourists do on vacation. But those are our family stories and I won't them relate here.
Day 16. Cape May to Chesapeake city. 71 miles.
The weather forecast had been the same for days and would be the same for days; brisk north to northwest winds. Exactly the weather all sailors avoid going up the Delaware Bay, but we had no time to wait. The Delaware is notorious for building steep chop in wind-against-tide situations, that's exactly what we found: 3- to 5- foot square walls of water, one behind the other. The first hour was atrociously rough, and in trying to set sail I managed to rip the tack shackle right out of the jib. The roller furler also chose this time to lock up completely, and I got to spend a stimulating 15 minutes on the bow of a submarine wrestling the jib down. We left the main up and motor sailed the length of the day, tossing a bit for the first hour, without event. The PDQ, because of the forward position of the keels, will not sail to the windward in anything but calm conditions under main alone—she just keeps rounding up.
Chesapeake City was predictably crowded. I had to get up on deck and leer at a few people who were anchoring to closely, all well within our swing radius. A few times, I used a bit of a stage whisper with my daughter, relating how we have moved to a different creek in the past when faced with such crowded conditions. It was the truth; we have moved on to Cabin John Creek or the Bohemia River. There's no reason people can't move on. Even so, one small powerboat anchored rather too closely beside us, and by morning was within 3 feet of our transom. But we all emerged unscathed, thanks to very light winds.
Day 17. Chesapeake City to Rock Hall. 45 miles.
Little wind, but broad reaching conditions with the spinnaker up. Convenient, since using the jib would have been inconvenient.
The upper Bay is clearly powerboat country. I've never seen so many express cruisers and large power yachts with such large wakes in my life. I have seldom seen less courtesy and less awareness of the hazard presented by large wakes. Pure thoughtlessness, as though they HAD to pass right next to you, when the whole Bay is available. As though they HAD to stay in the ship channel, though most of the water in the area is quite deep. To state that “I am a ship.” To state the “I am a powerful person.” Would they behave so, outside the armor of their vessel, and push a little old lady out of line at the local Safeway? No, this sort of people only demonstrate such manners and such courage behind the wheel of a boat or car. Not naked, not on the street, mano a mano. We had more things fly around the cabin than at any other point the trip, including the biggest ocean waves.
A poker run—a sort of muscle boat rally—began just as we exited the Elk River. Nearly 100 go-fast boats from multi-thousand horsepower cigarette boats to 25-foot dual outboard speedsters poured pell-mell down the Bay and over the horizon almost before their wakes reached us on the other side of the Bay. But unlike express cruisers which send a 3-foot wall of water your way, these speedsters didn't sit far enough in the water to cause anything more than several minutes worth of ruffled water. It was fun to watch, quite a spectacle. About 20 minutes later I heard a VHF radio call to the Coast Guard
from a cruising sailor near Sandy Point complaining that he was being harassed by powerboats. A few moments later he stated that the harassment of dissipated. I wonder… was the behavior of the power boaters inappropriate, or was he simply surprised and shocked to see such a wall of high-speed boats coming at him? I imagine had I been in front of the race and not to the side, it might have been more startling. No, I think not. I think it was obvious these boats were moving with purpose.
Our docking Rock Hall was comical at worst. Management was quite certain that their travel lift slip—unused for the weekend—was 17 1/2 feet wide would be a good home for our catamaran. After a bit of confusion when one of my engines refuse to lock in the down position, I managed to thread the eye of the needle and get my boat headed straight towards the slip. We got about 30% of the way in and… we stopped. As it turns out, the slip is only 16 3/4’ wide, which management continued to deny even after it measured my boat and the slip. Technically, the tracks are 17 feet wide, but there are fixed fenders nailed to the entrance pilings and inflatable fenders tied to those. We were quickly relocated to a bulkhead next to travel lift, and everything else went smoothly. ( I believe they have lifted wider boats, as they claim. If the widest section were far above the water, typical of a large power boat, then it would pass above the restriction.)
Jessica made a beeline for the pool. I was right behind her.
A prime eating spot in Rock Hall is the Waterman’s Restaurant. It is only a few hundred feet across the harbor from the Sailing Emporium where we were staying, but probably 5 miles by car and we didn't have a car. The best way, of course, is by dingy.
There was a short wait for dinner. We chose an unoccupied spot at the end of a long high table near the bar. Well, really it was a part of the bar I suppose. Holiday weekend revelers spilled over and kept us company. Many were fairly loaded but harmless enough….
Until it was time for them to leave. We followed one particular group, a group we had watched imbibed heavily, and there was no designated driver. We were curious to see what would follow, and perhaps a bit concerned. We hope they weren’t going far. They wobbled down the floating dock, which of course did its part to upset their equilibrium. They piled into their muscle boat, pinballed out of the dock in a manner that suggested substantial impairment, and motored off slowly to a neighboring marina. Thank goodness.
Day 18. Rock Hall to Deale. 38 miles.
A late start with the fine this day. The wind was supposed to fill-in by late morning and give us 10- to 15-knot broad reaching conditions all the way to Deale. A good spinnaker day. Jessica and I took off early to snatch some continental breakfast and visit the local beaches in a dinghy. A nice relaxing morning.
The Bay off Annapolis is a sailboat racing spectacle on Labor Day weekend. A dozen fleets and many hundreds of large and small sailboats cover the Chesapeake Bay from shore to shore, from the Bay Bridge to the Rhode River. Though there is no legal requirement to avoid sailboat racing fleets, it seems to be good courtesy. Additionally, the fleets are so dense that crossing situations can require repeated jibing that no cruising crew is interested in or perhaps even capable of doing with extreme rapidity. Even so, the afternoon was filled with crossing situations with other cruisers and perhaps lagging racers that required careful calculation of course and occasionally a jibe or other avoidance maneuver. By the time we passed south of the Rhode River we had put a fine polish on our jibes.
The wind continued to rise. The GPS read 11 knots for extended periods and 12 knots for a few monuments. Not surfing—we were too close to shore for that—just sustained speed. And as a cruiser and not a racer, we took the chute down. Those where the strongest conditions yet for that sail, and I did not wish to risk troubles. With the squeezer and 2 days back-to-back practice, it was an easy one-man job.
The rest is anti-climax. Rainclouds and small craft advisories were approaching from the east, it spit rain, but nothing came of it and we easily made it home. After two weeks of tying up at unfamiliar marinas with cross winds strong tides, parking at home, in a calm Chesapeake creek, is as simple as parking a car.
At home you trade increased space and room to move about for more chores and more stuff to be tracked, stored and manipulated. Funny… when you start a long trip life afloat seems complex compared to this simplicity of life at home. Driving a car is as simple as stepping on the gas. Home is roomy and contains everything that you can need. After weeks of float, being on a boat seems simple, at least within the protected confines of the Chesapeake Bay. Simple navigating. A simple schedule. Not much room but fewer things to store and maintain. Different.
 The furler had been prone to catching for the past few days. It would roll fairly easily for a bit, then seize, and after a good tug, roll easily again. The bearings in this furler are half-and-half stainless and Torlon, and it seems the Torlon bearings had worn down to where the stainless bearings would ride up over them. Eventually, the wedging force pushed the lower circlip out of its groove and the lower race fell apart, unnoticed. My genoa is a little to long on the luff but still, it sets very well with no halyard tention; in fact, some wieght rests on the tack, just a little, and this held the upper race in position. When I went to re-hoist the sail the the foil was lifted by normal friction in the groove, the top half of the furler was lifted, and everything fell apart.
 Back at home, after considerable stress over the great cost of replacement unit, I set about disassembling the furler drive. It is a simple matter: bring the jib and spinnaker halyards forward and tension with winch; place a pad under the boom and release the topping lift - this relieves some tension from the forestay; remove the plastic set screw between the luff extrusion and the drive tube, remove the split aluminum castings, and while supporting the luff extrusion, gently lower until it rests on the turnbuckle - the luff extrusion will slide right through the drive unit; lift both the luff extrusion and the drive unit and place a vice-grip on the flats of the lower end of the forestay wire - this will support these parts and keep the forestay from turning when the turnbuckle is loosened; remove the cotter pins, and loosen and remove the turnbuckle - it was not necessary to loosen the shroud turnbuckles; remove the vise-grips and slide the furler drive off the forestay, while supporting the luff extrusion; replace the vise grips on the flats to hold the luff extrusion in place.