Thursday, July 25, 2024

The Ultimate Grease


Image result for green grease
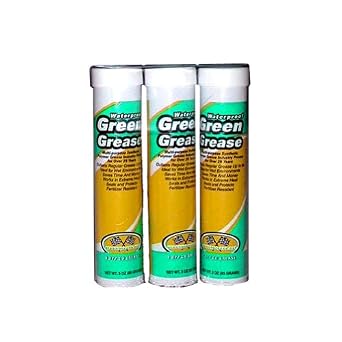
Green Grease by Omni Lubricants. There are other waterproof and corrosion inhibiting greases out there, but in lab torture testing with saltwater and in my experience, this is at another level. It doesn't wash off and it stops corrosion dead.

  •  Winches. I've used it for 10 years. Best Corrosion Protection in Practical Sailor testing.
  • Steering gear.
  • Shift and throttle cables.
  • Electrical connections (studs and nuts)
  • Battery Cables 
  • Rigging screws
  • Snap shackles
  • Carabiners
  • Furlers (those with metal bearings)
There are a few places I would use something else:
  • Seacocks. I still like lanolin or Lanicote; the thicker product better resists rinse-out and aids in sealing.
  • Head pumps. I use silicone grease. Any petroleum product will have some effect on the neoprene parts used in Dometic heads.
And there are places you don't use grease at all:
  • Winch pawls. Only oil. 
  • Sail tracks. Sailkote by McLube is my favorite.
  • Plastic ball bearings. Never grease. Never Sailkote or other dry lube. But the topic of oil is complicated; small amounts ( a few drops) are recommended by the manufactures under some conditions, specifically for travelers. Read the manual!

Tuesday, July 23, 2024

Mooring Knots

Rev. 7-23-2024

This is a new low for me.

Not only is the boat secured only by an overhand stopper stashed behind a dock cleat horn, he messed with the next boats tie-up (the other cleat on the next boat was a proper hitch).


But then I saw something even worse, primarily because it is the boat next to mine. The pity here is that I had tied a proper hitch... but he decide to re-tie the boat.


So when the marina staff won't fix it, and the owner won't fix it, and it is next to you, what do you do to keep your boat safe? I'm betting this boat is uninsured.

And there are more. This one resulted in the boat sinking a few weeks later.

 
A reversed cleat hitch ... sort of. Good luck releasing it under load. How do you even do this?
 
And finally, if you can't tie a knot ... tie lots.


Mainsheet Tackle Extension Using Strops


In a resent forum thread people were arguing (always) whether or not to put a swivel on the anchor.

Same question, but regarding mainsheet tackles. 

-----

If the tackle sheets to a winch it probably runs along under the boom and a swivel serves no purpose. You could extend the top block to save rope but it would increase the likelihood of twist in the tackle.So probably not.

However, if the tackle is hand sheeted through a cam cleat, probably yes.
  • The bottom blocks and cam cleat needs to rotate 120-180 degrees with every tack because the crew moves.
  • If the top block does not rotate to match the bottom the tackle will twist and rub.
The other question is do the blocks need to mount dirrectly to the traveler and boom, or can then be extended with strops?
 
Both  photos are Corsair F-24s.

The high cam cleat makes it easier to sheet from the windward ama.


The positives are:
  • An extension is lower friction than any swivel. Helpful at the top.
  • The rope can be reduced by 4-8 times the length of the extensions. For me, a 5-inch extension saved 35 inches of rope. Whoopee.
  • The cam cleat may be at a better height. A low cam cleat can make for impossible sheeting if the crew is sitting out. This is the most common reason for extending the bottom of the tackle.
  • Easier to attach the tackle if it is removed from the boom frequently. The strop is easier to grab than some big bundle of blocks that are turning.
The negatives are
  • Extending the top block downwards can put it at the perfect height to remove you teeth during a jibe. Boat specific.
  • The bottom block can be floppy for sheeting in light air.
  • Can be more difficult to grab the tackle and pull it across during a light air jibe.

 The short extension made for smoother swiveling during tacks. The bottom is direct to the traveler, which holds the cam cleat steady in light air.


 Any other thoughts?

I extended the top block on my F-24 down a little (dirrectly above) mostly because the top swivel was high friction. I extended the top block on my Stiletto 27 because the tackle came off every time the sail was lowered or reefed.

 This was a good many years ago, since it was taken with 35 mm film. The long extension made lifting the tackle easier (didn't have to grab floppy blocks and it was considerably lighter) when attaching it to the boom. 

 Jessica and I went sailing last week (almost 20 years later) and she's still smiling!


Monday, July 22, 2024

Rudder Shape. Building a Better Rudder

Elliptical was all the rage for racers in the 80s to 90s. Now we're seeing some extreme shapes with tails.  Is it fashion of function? Maybe both.

First, defining the project for my boat and the problem:
  • I don't want to replace the rudder with a transom hung upgrade. I like the swing down cassette for aesthetic reasons (I'm weird), the transom would require modifications to mount one, it would interfere with the boarding ladder, and there is nothing mechanically wrong with the rudder or cassette.
  • I have added an anti-ventilation fence to help with high speed ventilation. It helped, but there is still not enough control in some sea states. This was designed and speced by the designer of the boat, Ian Farrier.
  • Although the rudder cassette is OK, I am mindful of not adding much more bending moment. The bearing carrier is DWV PVC, is sunburned, and can't take much more. I have replace the bearings. I also navigate some very shallow waters. I do not want to increase the draft. [The rudder in the F-24 MK1 is mounted in a cassette at the transom that is rotated up with a rope to lift it out of the water. When lowered into possition it functions like a spade rudder.]
  • The rudder feel is very light. In fact, the rudder is so over balanced I can often let go for a minute upwind in good conditions. She just goes straight. I'm calculating ~ 22% balance, and I think something in the high teens would make more sense.
The core of the problem is that the F-24s have low volume amas that are very prone to driving down off the wind. If there is a steep quartering sea, they like to bury, followed by the stern lifting and the boat immediately rounding up. When the bow buries it becomes like a new centerboard forward, moving the COE and making it impossible to turn and bear away. Monohulls and catamarans do this, but it is many times worse on a trimaran, in part because of the fine amas and in part because of smallish rudders. 90% of the solution will always be balancing the sail plan, and bearing away preemptively and surfing away (really fun, by the way), just before the bow buries, but a little more control would be nice.  I really don't care about racing speed or class rules, but I do like a boat that is fun to drive.

As I said, adding a fence helped. Now I am considering changing the rudder plan form slightly. The Spitfire elliptical profile has proven strengths, but within the constraints (length and ventilation near the waterline) there is probably room for an upgrade. Ian speced out the anti-ventilation fence I have and he changed rudder designs for other models over the years.

The Dragonfly rudder seems pretty extreme, but they're smart guys. Jeffa uses a more squared off profile. There are many examples and I don't really want to go too far down the design rabbit hole.
 
 
 2024 Dragonfly 28. a pretty extreme tail. This would drastically affect balance and would affect the shaft placement. I'm not interested in creating a heavy helm.
 
 Jeffa Rudders cruising designs.
 
My current idea. I have not decided how much area to add. Call it option A and option B.
 
This also seems more in line with F-24 Mk II (top) and F-28R (bottom) rudders, which are known to be more effective and less prone to ventilation and loss of control.


What about just adding a little area down low and aft? This should decrease the balance to about 17-18%, where it should be, increase the turning force about 5-8% in calm conditions, and perhaps 10-15% in tough conditions when the upper portion of the blade is ventilating.The area is added to the deepest part, where the water should remain air-free.

An apparently successful and slightly more radical F-24 MK1 rudder modification.


I'm pretty good with fiberglass, and I've built paddles and dinghy rudders before. The fairing will take some figuring, templates, and some time, but it really is a small area. Seems like a fun project. I like tinkering.

Thoughts?


Sewn Splices


 Traditional splicing of rope eyes is the gold standard, but there are times when it is not practical:

  • The line is old and stiff.
  • It is a line, like climbing rope, that cannot be spliced by conventional methods because the cover is too tight.
  • The position of the splice must be precise.

 Enter the sewn splice. This is often seen on sails, and can be made strong for larger eyes by using more stitching. The strength is about the thread strength x number of passes, and add a 50% safety factor. Also protect from chafe with a webbing or other covering.

I've been using sewn splices for 30 years and I have not experienced a failure yet, though I do cover those that are exposed to chafe.

I made this video for Good Old Boat Magazine as a companion for an article on the topic some years ago.


My Favorite Sail Ties

11-2011

Rev. 7-22-2024

In the West Marine catalog--or any supplier for that matter--they sell prefabricated sail ties for ridiculous prices. My boat came with 2 sets of 2 types. I tried some webbing with Fastex buckles--something I had. They worked, but the buckles don't like being stepped on and sometimes caught on the cover or the sail. Kind of rubbish for a sailor.

Having completed my Practical Sailor article on washing rope, I was faced with piles of clean ropes in various states of disrepair. Some was ancient crap, destroyed in the testing. A few bits tie Jessica's kayak to the car or the railing of the boat. Some remains in a basket, waiting some future purpose. Most puzzling was the new dock lines that were herniated and ruined in the washing process. I had 100 feet of new, soft 1/2-inch nylon dockline that simply had a tangled core. I pulled the core out--it slipped out in seconds--and played with both parts,  the core and the cover, while watching a DVD; something to keep the hands busy. Separated, the cover is loose and and easy to splice, it became a game to see what could be done and to think of a use. Toys for sailors.

The core was pitched. Other than recyclable fiber, I couldn't dream a purpose. To loose and snag prone.


The core was removed from the eye half of the line, left in for the stopper portion (ashley stopper knot).


The cover is another matter. It's a sort of webbing, or a very hollow single braid rope, super-easy to splice. Just screwing around, sitting on the boat one evening while watching "Cast Away" for the 10th time, I found myself making sail ties from this, a sort of strop. It  felt old school and relaxing... and they are the best ties I have found.
  • The material is soft and easy on the sails. 
  • A bury splice is fast and easy with no core; just a few stitches lock it. 
  • The eye is just large enough to pass an ashley stopper, which is nice and square and never slips out. 
  • The flattened profile of the hollow braid grips the stopper knot better than round rope, without need for an overly tight eye. 
  • The pointed tail makes threading them simple; I can take put them on or take them off in the dark with gloves on, in moments.
  • There is no hard buckle or bozo ball to step on.
  • There is no knot to seize-up after wet dry cycling.
  • They are not adjustable (you can move the knot, of course), but if made to fit there is no need.


Try it. It seems wasteful, just using the cover, but short bits of used rope should do. Normally old rope cannot be spliced, but I think you'll find the cover alone is different. A different spin on strops.

I swear, I'm not that cheap. These really work best for me! Well, maybe I am.

Soft shackles are hardly new.


note 11-15-2012.
Still may favorites after Hurricane Sandy. used to secure sails, tarps and some other deck items, none budged and none jammed.

note 7-22-2024
And adjustable version, copied from a rigger on a tall ship. Easily made for free from old double braid covers. Basically a string of brummel locks with a stopper knot on the end. The ashley stopper knot is made large by leaving the core in the last bit. This one secures the tail end of my mainsail cover. The adjustability makes up for slight differences in flaking.


Marking Chain

Knowing how much rode you have out is essential to proper anchoring. Before I had a windlass, using an all-fiber rode, I would measure it out as deployed, counting the fathoms by arm span. I can time the windlass (about 6 feet per second) but I always lose count. I tried the traditional bits of twine and the more modern approach of cable ties, but my windlass hates anything attached to the chain. Twine would jam on the stripper and cables ties were sheared off cleanly after a few cycles, the broken bits causing jams. The most obvious Solution was paint.

But how to mark 100 feet of chain on-deck without making a mess?
  • Flake out the chain in even loops. In this case, 10-foot lengths fit across the tramp.
  • Pick marking points and temporarily mark with tape. I chose 25, 50, 75, and 100 feet.
  • Collect a box from the dumpster, notch it as needed, and paint away. Plain-old Rustoleum or anything similar will hold-up for years; it chips going through the windlass but remains visible between the links.
  • Just leave the box on-deck until your next visit, to make sure it's dry. No rush.
Easy, fast, and neat. I painted the chain on the deck in a light breeze with no real risk of over-spray mess.

My 100-foot mark is long because I like to keep the splice off the windlass. Ever since I changed to the Irony Splice it passes just fine, but it's easy to attach the bridle if I stay on the chain.


Sunday, July 21, 2024

Salon Window Covers: First my PDQ and then my F-24


rev. 11-26-2010

Ultra violet is the enemy of polycarbonate, and I have noticed some minor crazing on my windows. Infrared is the enemy of air conditioning, delivering BTUs I can't get rid of. Sunbrella lasts 20 years (with re-sewing every 5 years) in my experience, so I sewed up some covers that snap on and off in moments. I'll be honest; I poached the idea from a Gemini owner.

Simply replace alternating screws with snaps and hem the Sunbrella to cover the space. The windows are secured by adhesive and the screws serve no structural purpose after the adhesive cures. I suppose I could have made this in just 3 parts instead of 9 parts, but smaller parts seemed simpler to make and have proven more versatile. I could have gone for a tighter fit, but I didn't want to worry over shrinkage, though with Sunbrella this is a minor concern.

A few tips:
  • If the screw-snaps don't bite well, glue them in with 3M 5200. It is enough, will bed them, and they will still come out with a screw driver. The original screws on the PDQ were #10 but I could not find snaps larger than #8 nor figure out a reasonable way to fabricate them. I reason that the adhesive is what holds the windows and that the screw were only for installation. 
  • Always lube the snaps with some spray lube like Corr-Block or Bo-Shield. Repeat several times per year. The difference is incredible.
  • Patterns can be made using freezer paper. Just trace the window and poke a tiny hole in the center of each screw that will become a snap. Allow for the hem. Some people prefer a vinyl edging, as Sunbrella is a pain to hem around curves. However, in my experience the vinyl lasts about 1/2 as long as the Sunbrella, so we did the hems.  You can also buy Sunbrella as an edging or tape. 
  • Sail Rite has the best prices on the snaps and fabric.
  • This, from a sailor who tried Phifer-Tex instead of an opaque material, so that they would be see-through: "We used this and now will be replacing the windshield as the weave has left it's imprint, making visibility difficult. The windows were due anyway, but this accelerated the process and the weave is clearly visible in the plastic." Phifer-Tex is a plastic coated mesh, commonly used for cushion covers and sun shades; it is excellent in those applications. 
  • Laundering the covers a few times a year and waxing the windows at least once per year also helps. I'm too lazy to wax the boat, but waxing the windows is well worth the time in terms of longevity and clarity.
  • Label them with Sharpie, Bow Center or Starboard Aft, as needed. Always put the label in the same corner (top right).

rev. 7-21-2024

This spring I replaced the windows on my F-24, and in the interest of keeping them new, I made similar covers. 

 This time there was no sewing involved.  

  • Cut the covers about 1-inch oversize.
  • Glue/laminate a second layer around the perimeter, about 2 inches wide, using polyurethane sealant (I used Locktite PLS30).
  • Trim to size.
  • Pound in grommets to mach the snaps you installed. I used the same type snaps I did above, but YKK SNADS are another options. The laminated margin will hold the grommets and prevent fraying. 


YKK Snad. They are self-adhesive and are available in a variety of types. The all-plastic ones are best for attaching window covers.


The Ultimate Chain Hook for Catmarans ... Revisted

rev. 9-13-2016, rev. 7-21-2024

The Problem. Catamarans use a long bridle, and monohulls should to, to reduce shock loading on the anchor and chain. Unfortunately, an ordinary chain hook falls off if it rests on the bottom in shallow water during light winds. The boat shifts around and the chain walks out. I've had this happen with every non-locking hook, including those that include some manner of labyrinth. There must be a lock in my opinion.

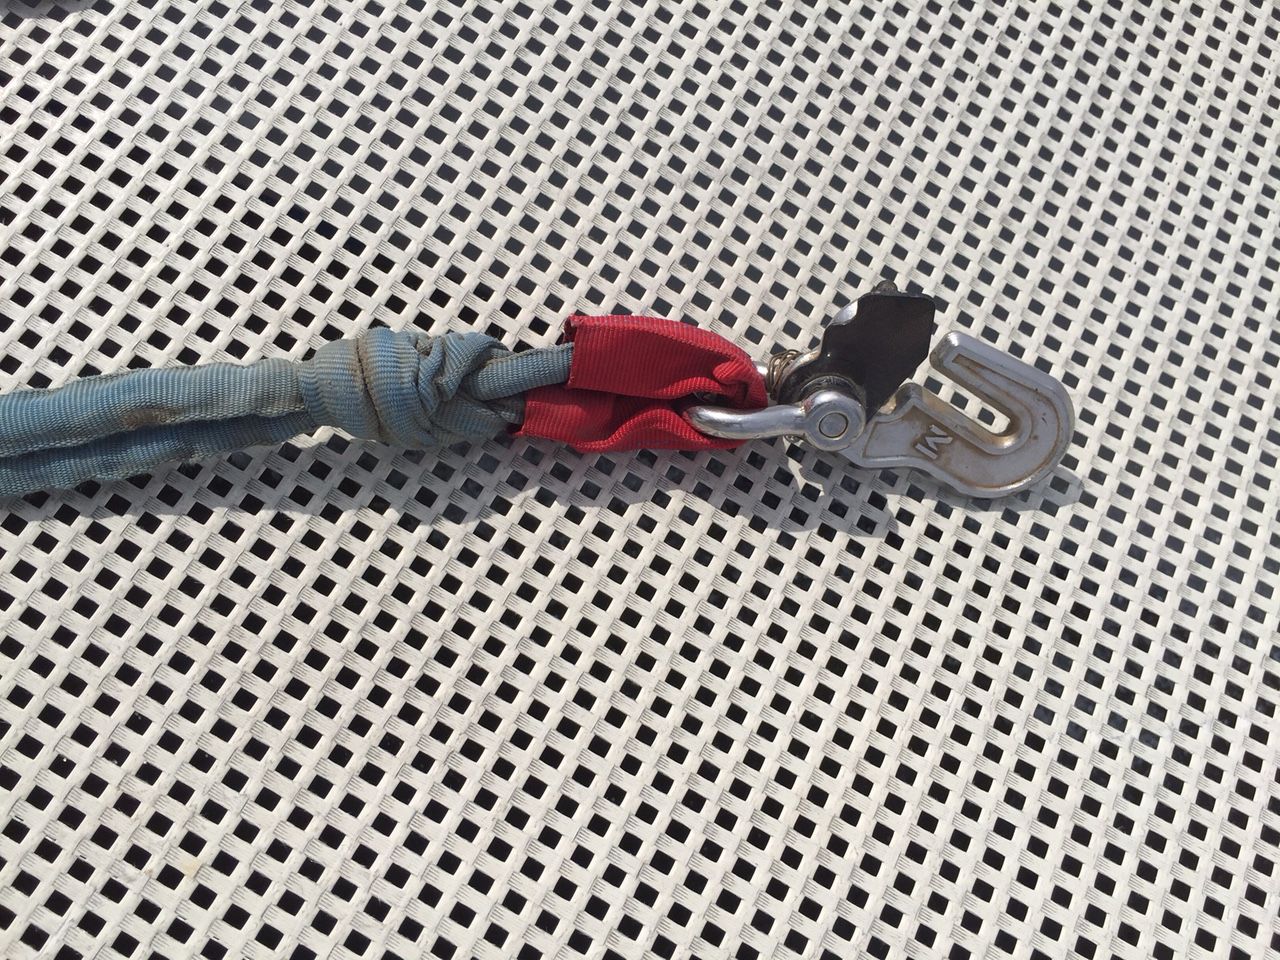
My first solution, not for sale anyplace I could locate, was a steel plate is 3/8" x 3" x 4 1/2" A-460. The left hole is 5/8" and generally holds a large stainless carabiner, the right hole is 3/8" and is a good fit for the 5/16" SS shackle that forms the pivot of the latch. The slot is 3/8-inch, over size to allow for an easy fit and because 1/4-inch chain is closer to 5/16-inch at the weld. The chain rode drops into the slot and can't get out once the second bridle line is attached. Very simple and idiot-proof in years of testing. The apex hole is 5/8" and also generally holds a 3/8" anchor shackle used to secure a sling that is Prusik hitched to a fiber rode.I don't use this feature and consider it a bad idea, since it is better to attach the second rode to the chain.

Calculations show that it should have a safe working load of 3200 pounds in any loading combination, including attaching only one bridle leg. I tested it to 5500 pounds on a test rig I once used for pulling rock climbing gear apart; there was no permanent distortion. My anchor chain is 1/4" G-4 and my governing working load is thus 2600 pounds.

But you can't buy it. However, since I introduced this eight years ago, there is now a nice hook on the market that you can buy....


A Possible Solution? But Not. The Mantus Chain Hook. 

I used this for about four years and found it very handy. It can be attached with one hand and a locking plastic plate keeps the chain in place. Unfortunately, it is difficult to operate with one hand in sizes over 1/4-inch. Also, the hook was tested and found to potentially weaken the chain because of the sharp V-edge at the bottom of the slot. That was a mistake. 

As long as the hook is used well below the WLL by using an elastic snubber, no problem. Personally, I moved back to using either the bridle plate (above), a soft shackle (seldom), or a Prusik hitch and a Dyneema sling (often).

Good Solutions. A friend in Australia made me one (he calls it a Barra) and had it ArmorGalv treated. Viking Anchors now make this commercially. Very nice. And the Ukraine can use your support. This would be my first choice.
 

The long shackle makes spinning the locking plate easier.


 Much stronger than the chain, can't come off, completely redundant attachments.


The One You Can Buy.

 The Viking Bridle Plate also allows rigging dirrectly with rope, giving some interesting possibilities. My choice. The funny milling in the groove helps the link rotate into a position where it is better supported. Mantus had this idea, but they didn't get it quite right.


Thursday, July 18, 2024

F-Boat Hinges and Stainless Bolt Failure

 Edit 7-19-2024. Edit 7-21-2024: I originally posted the images just to share them with a metallurgist. They deserve some explanation.

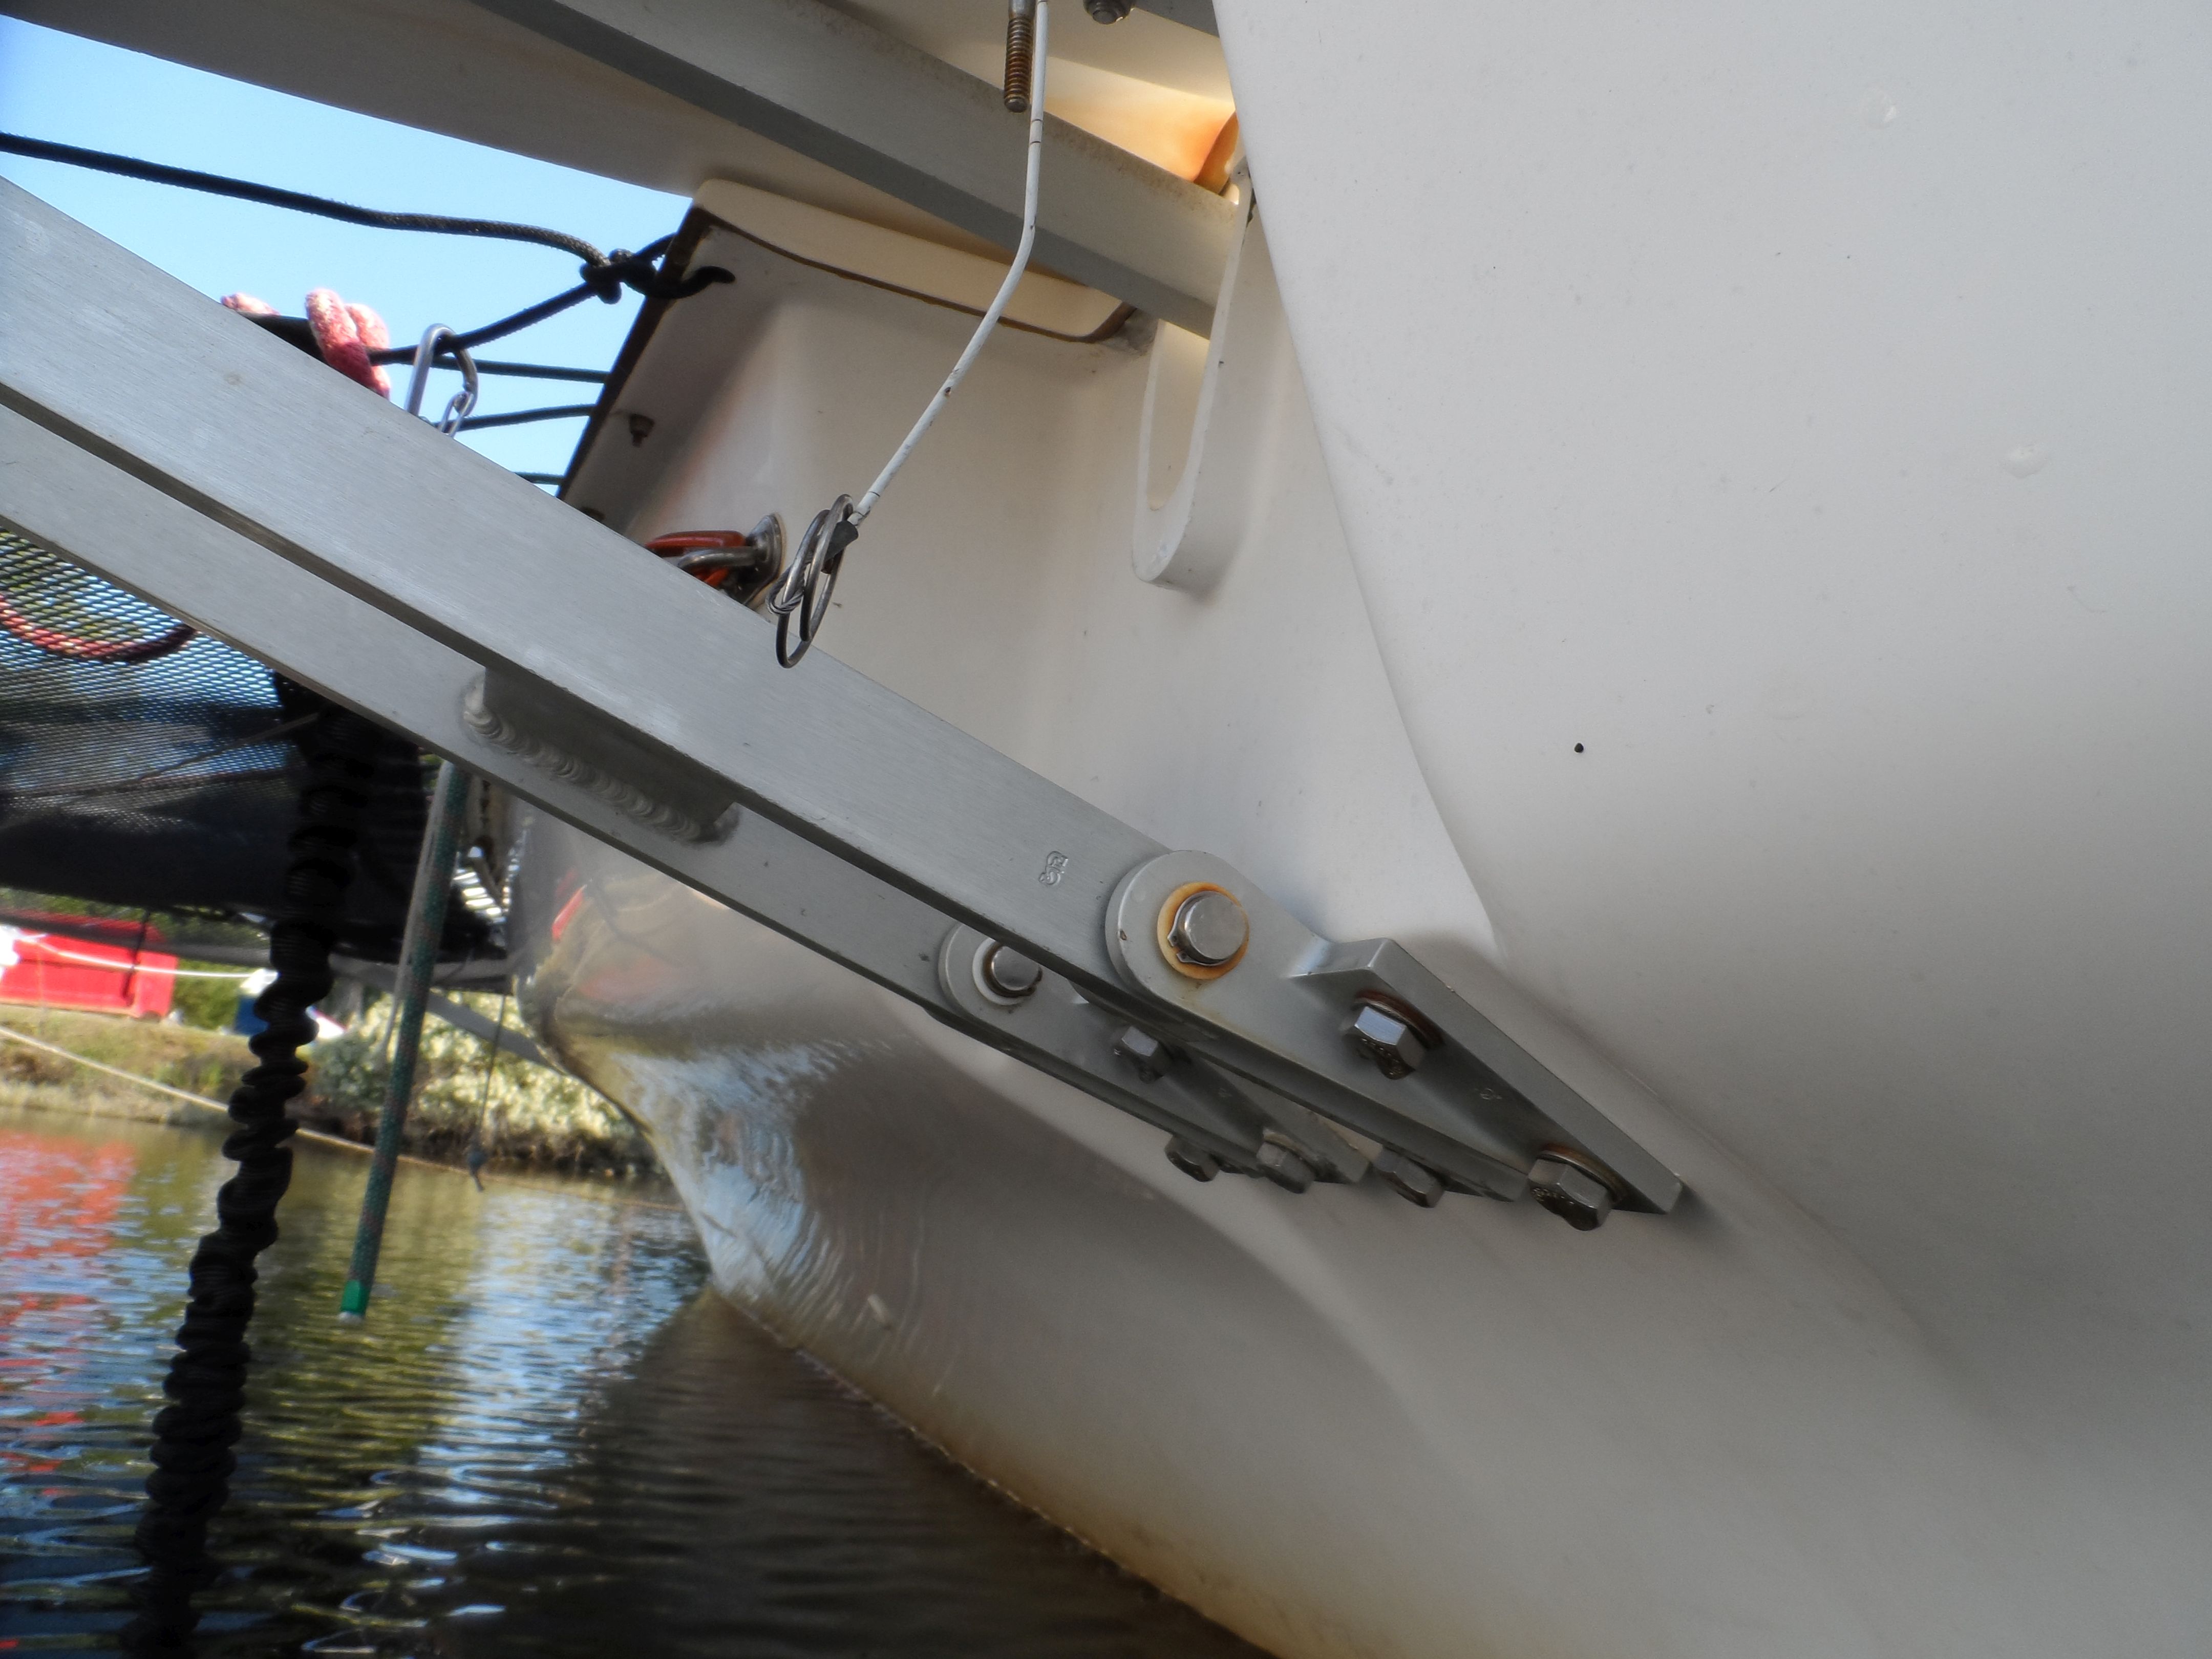
The bolts are not from my boat. They are from an F-9A, a home-built version of the Corsair F-31. The hinge design is similar. I know of three F-9As that have suffered from this problem and no other F-boats. I don't know why this is the case, but I have educated suspicions.

When the bolts fail, even if over 50% of them are bad and the others compromised, the structure does not fail. It is very conservatively engineered. Although stress certainly plays a part, I suspect it is only the pre-load (installation torque) and not service loads. As long as the service load does not exceed the installation pre-tension, the bolt does not "feel" the change in load. The fitting experiences changes in stress, but the stress under the bolt head does not change. This is one of the primary reasons for pre-tension (in addition to preventing loosening, but they are related). As long as the pretension does not exceed the working load limit (WLL) there is no fatigue, not change in stretch, no movement, no failed seals, and no loosening.

These bolts are loaded in nearly pure shear, so the failure point, if related to sheer, should be at the flange/hull interface or even farther in, not at the head. The fore-aft loads from the amas are carried by diagonal cables. The view is from the aft hinge forward. The forward hinge is just visible in the distance.

So why are they failing at this location, and why only (I think) on the F-9A?

---

 I asked the owner of one of the boats for more detail. This is what I go. He obviously put some thought into it.

All the ones (bolts, washers and nuts) I removed were 304 series (A2), it is isolated from the aluminium bracket with a glass reinforced acetal washer.  This sort of crevice corrosion is quite common in saline environments where a water film can get trapped and not flushed.  It is a significant area of interest in offshore oil and gas where the use of duplex steels (which have austenitic and ferritic phases) is common which are designed to be more resistant to this type of corrosion.  One of this issues is there is no great way to tell if a fastener has crevice corrosion.  PERN number, which is a ratio of  chromium, molybdenum, nickel, and nitrogen content is often used to compare the resistance of steel to this type of corrosion.  PERN is approx18 for A2 (304), 24 for A4 (316) and mid 30s for duplex.  I notice the farrier sailing manual suggests no maintenance is required except flushing the bolts with fresh water if feasible.

---

[Corsair F-24 lower folding strut. A smaller boat, but a similar design.]


Sometimes the head of the bolts come off due to crevice corrosion under the heads. Only under the heads. The bolts are epoxied in, creating a good seal, but who knows.  Another possible difference with this F-9A vs. the production Corsairs is the used of glass-filled acetal washers in place of 304 stainless washers. Was the glass possibly abrasive? There should have been no movement. Some other chemistry, possibly related to why bolts more commonly break inside the laminate?

These boats, unlike the production version, used carbon in the beams. Some builders used it extensively. Carbon is quite noble and could be a factor.

This is more like what I would expect, but it is not what we see on F-boats.

This can also affect hinge pins (F-28R).


The F-28R and the F-9A contains some amount of carbon, but whether it was used in the affect area is not known (these boats are on their 2nd owners). Certainly not near the failed pin.


More F-9A parts


---

I'm puzzled as to why these problems do not seem common in the Corsair production versions. I'm glad, mind you, just puzzled. As more information becomes available, I will revise this post.