Saturday, July 28, 2018

A Coupler That Can Feed Through Fairleeds...

... or rather that is what I need to find. I would like to couple my furler line to webbing, but instead of a swivel as illustrated below, I want a quick disconnect.

From the bow of a sport boat at a boat show.

It needs to glide through fairleads, with  WLL of about 100 pounds. I'm not adverse to machining something, but if I could find a design that would be better. Perhaps I could make something from 3/8-inch alloy rod where the two haves screw together. Not super quick.
Better ideas?

Thursday, July 26, 2018

Dyneema Anchor Bridle

"Bridles are made from nylon, right, to absorb impact?" Well, yes and no.

If the rode is all-chain, yes, at least 30 feet of nylon is required to take the sting out of waves and wind gusts. Since multi-hulls use bridles to reducing yawing anyway, a nylon bridle is an elegant solution.

I usually attach the bridle with a prusik loop from a Dyneema climbing sling, but a knot is fast in light winds and I had misplaced the loop. A knot weakens the line and jams if the wind is over 20 knots (25 knots for a figure 8 knot), so I don't recommend it.

On the other hand, if the rode is nylon, it's easy to have too much stretch, to the point where fore-aft surging is actually increased, This leads to more impact and more yawing, since there is slack in the system. Logically, there is an optimum amount of spring in the system for a given yacht mass and sea state. A chain leader is another non-stretch element. By tuning the amount of chain, other non-stretch leader, and non-stretch bridle, motion can be minimized. 30-40 feet of nylon is good in relatively sheltered areas, and  80-120 feet is the most that is advisable. As much 300 feet is used with sea anchors in storms, but the wave conditions are unlike anything you would anchor in.

The other concern is stretch. A nylon bridle distorts when the load comes more to one side. The more it distorts, the more the boat yaws, and the farther it distorts. With a multi-hull bridle this may increase yawing 10-20 degrees. With a narrow monohull bridle, it may distort to where there is no bridle effect at all. For this reason, non-stretch bridles are better with drogues and sea anchors.

"How about polyester? It is low stretch also?" In fact, I used a polyester double braid bridle on my 34-foot PDQ when I had a nylon rode. It worked very well and was easy to handle. Dyneema works on the F-24 because it is left rigged all the time and Dyneema presents less drag through the waves and weight. It is also very UV resistant and has the best strength/dollar ratio available. It fits the small bow eyes and does not fatigue. Because the rode is recovered from the center hull using the main rode, I never handle it under load. But polyester was better on the PDQ and any application where it might be handled under load, whether by hand or winch.

Always something new.

Thursday, July 12, 2018

Skeg Repair

A nice feature of the Wilderness Systems Aspire kayaks is a retractable skeg. Deployed, the boat tracks arrow straight, but retracted it turns like a (sluggish) white water boat. However, the skeg is somewhat fragile, prone to breaking when dragged on-deck or across rocks when not retracted, and we do tend to forget.

A Factory Replacement for $22.00 would have been one option, and I might have done that had the factory gotten back to me right away, but they took over a week, and by that time I was done.

Additionally, I've been playing with flexible repairs using polyurethane sealant reinforced with Sunbrella canvas. I used this method on the mini-dodger, I've used it for household repairs,  and I used it here. The advantage is a skeg that will give when striking a rock, like a rubber flipper, which makes a lot of sense to me.

 Placing Sunbrella over the crack, after coating with polyurethane sealant. I will add 2 more layers, with sealant between them and over the top.

Locktite PL S30 has proven to make permanent bonds to many plastics, including polyethylene and ABS (what the skeg is made off) so long as the surface is coarse sanded and flame treated. Flame treating is the process of waving a propane torch over the plastic just enough to cause a slight blush, which changes the surface chemistry.

The back corner was broken off. Now there is a nice flexible tip that can't break. It looks a little lump, but the feel and stiffness is like a mud flap.


After that, just laminate as though it was epoxy and fiberglass, alternating layers until the desired thickness is reached. I used 3 layers of cloth; larger pices on the sides and a thicker filler in the center. I trimmed to to size with a razor knife and a grinder. The result is something like a tire side wall, depending on the thickness.

 I wish I'd taken before pictures. I dive into projects too fast sometimes.

I've also used this method to repair leaky ponds, cat carriers, and plastic tanks. What are other good applications for a tough, flexible lamination?

Saturday, June 23, 2018

Afordable Slips in Deale, MD

Update: The 18' slip used by the PDQ in the foreground is now open. She moved on to Rhode Island leaving a big hole in the water that needs filled.

Still plenty of wide slips, suitable for boats up to 16'-18' beam for fraction of the going rate. Facilities are minimal, but water and charging power are included, the marina has proven safe through 25 years of storms (zero dock damage), and the water is just as wet.

Why so cheap? No facilities and the water is not deep enough for a monohull's keel.

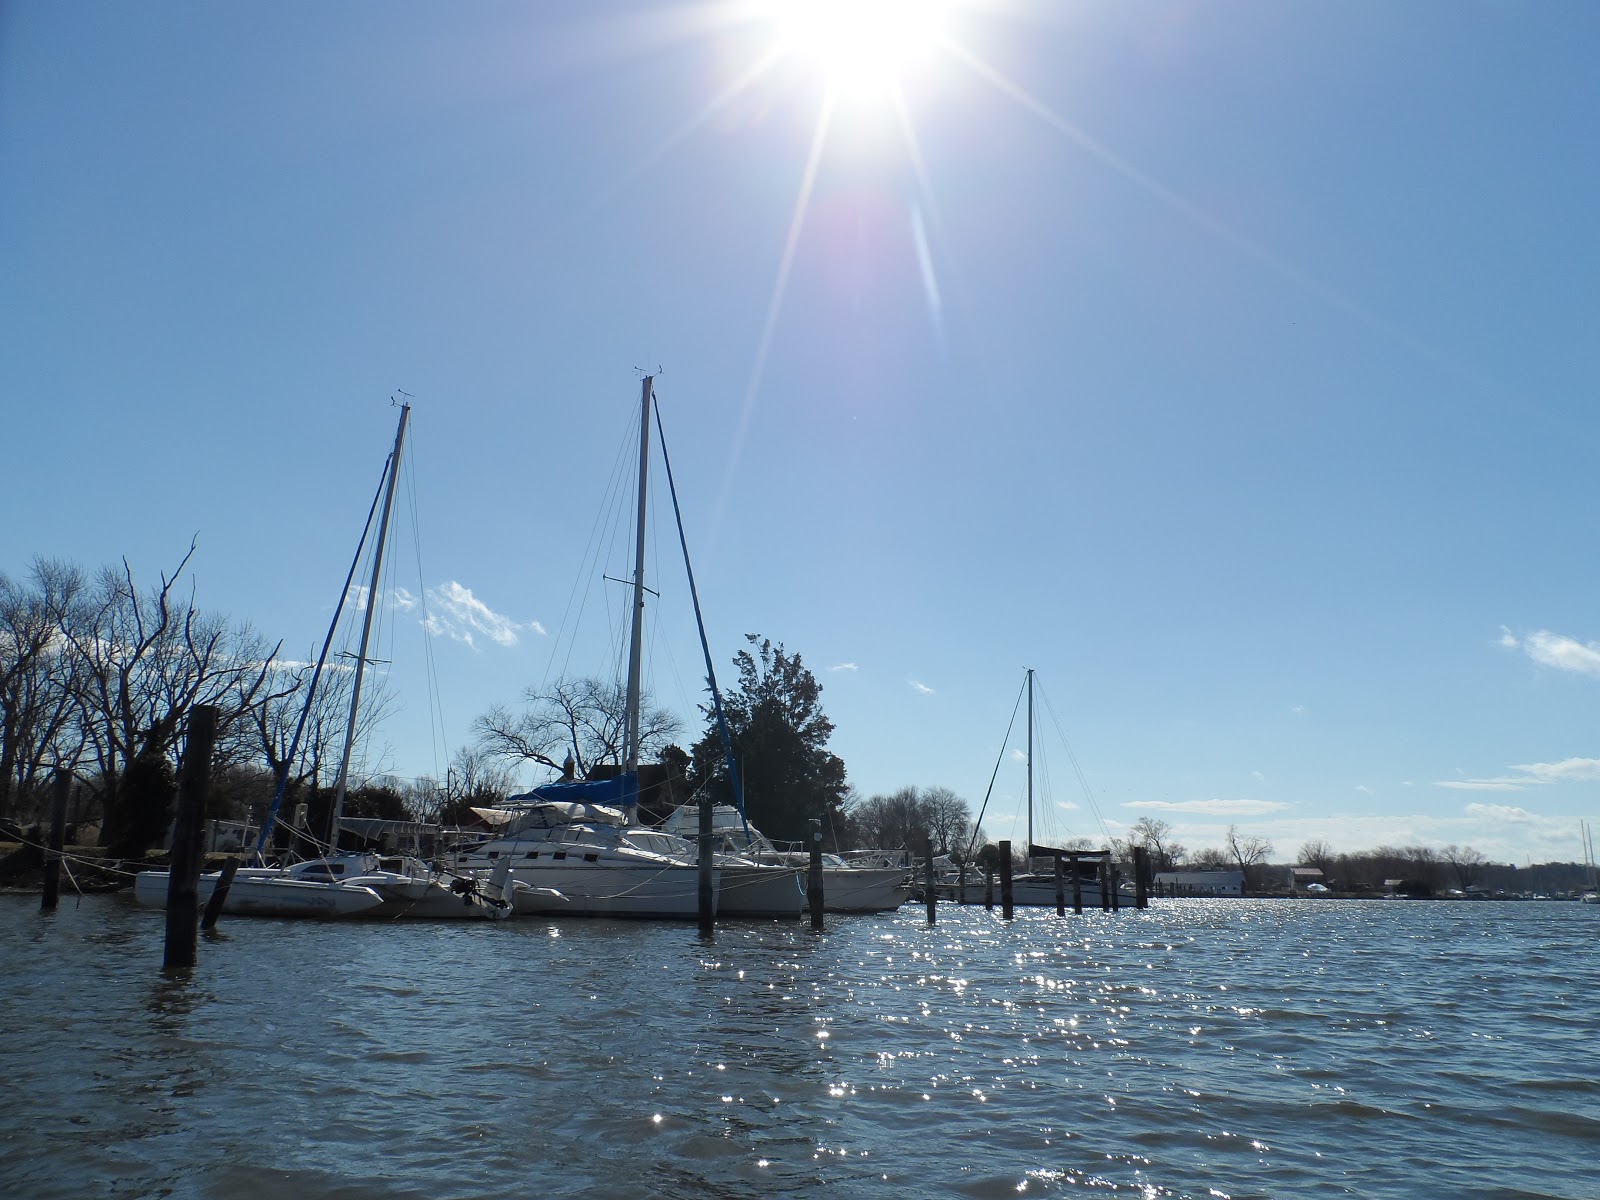
My new F-24 in the foreground, PDQ 32/34 Shoal Survivor next, and PDQ 36 Grizabella in the distance.

Why the spiff? I've been there for 25 years and nothing has gone wrong. That's pretty good.


Phipps Marina
Calvin Phipps
615 Phipps Road
Deale, MD 20751

410-867-0299

Monday, June 18, 2018

The Parts of a Catamaran

We can use the made-up English names, or we can call them what the inventors did. Of course, most of the English names for parts are bastardizations of European words and older version of the languages.


Saturday, June 16, 2018

More Rudder and Anchor Locker Lid Progress

rev. 7-25-2024

Since this post I was asked to investigate injectable foams and injecting epoxy as core fixes.  It can kind of, sort of work, if you are selling the boat soon to someone you hate.

  • You can't bond mulch. Since this I saved some core from another repair job and have been growing a house plant in it for about a year. Still going. You need to dig rotted balsa out.
  • Rebonding foam core can work if the damamge was the result of a resin-starved joint. Same with balsa. but this has to happen soon, while it is still dry and the core is undamaged. Epoxy works (extra slow cure), but Gorrila Glue can work even better, because it likes a little moisture and it foams and spreads, forcing it's way into the voids. 
 The repairs shown below (four years) are still perfect.

 ----

After drying for 3 days I cleaned up the residue with a cup brush in a cordless drill (a hand grinder has way too much power for working around balsa). I then thickened some epoxy with fumed silica and fitted a new balsa core around the remaining bits. I did not remove 100% of the old core because it was good and because removing it risked more damage to the skin. Tiny bits and wedges were used to fill the gaps and the whole business rolled down firmly.

Clean up your tools and skin using vinegar, which deactivates the uncured epoxy, and then soap and water.

The next morning I used a 120-grit disk on a hand grinder to level the whole business and blend the edge; the original epoxy residue and differences in core product made for irregularities in height, but nothing sands faster than balsa. A few moments with a finish sander evened it up and smoothed the edges; glass cloth must be laid over a smooth surface. I blew out the dust with compressed air and then smeared a bog over the whole surface, filling the gaps and radiusing edges; glass cloth must be laid over a continuous surface without gaps. This was followed while still green with 2 layers of 6-ounce finish glass cloth, covering the core and reinforcing the edge flange, which had always seemed a little weak to me.


The neatest way to trim excess glass cloth is with a razor knife while it is in a leathery state of cure. Finish sand and re-drill holes when fully cured. Two coats of paint will finish  it.


As for the other parts, it's just been a matter of painting, drying, sanding, and repeat. Should be on the water mid-week, since I want the paint good and hard before assembly.

It's surprising how the cost of materials adds up. This totaled just over $200 all in, rudder, cassette, and lid. About 1/2 was resin, and the rest was for glass, core, paint, brushes, and sundry materials. On the other hand, a new rudder assembly, if it were available off the shelf, would $3500 or so. Custom would be more. 

If you like old boats, it really does pay to develop a skill set.

Thursday, June 14, 2018

Rudder Rebuild and Adding a Fence

Why a fence? Because occasionally when bearing off hard at speeds over 12 knots and frequently at over 15 knots, the rudder will ventilate, compromising control. Air sucks down from the top, releasing the water on the lee side and reducing rudder force by about 1/2 just when you need it most. Better sail balance and gentle, preemptive steering help, but sometimes gusty conditions require a firm hand. Once the bow starts to dig in the under water center of effort moves way forward and gentle isn't enough.


Adding the fence is a simple project. Hack out a U from a bit of1/8-inch fiberglass scrap and bond it in place with a filet.

 Scaled from Ians design, printed, and traced onto 1/8-inch fiberglass. Should work.

The rudder itself was in good condition. A little fairing here and there, some sealing around the rudder shaft just to be sure, and she's good to go.

The problem is the rest of the rudder system:

Tiller:
  • The PO used a flat head bolt in the tiller pivot. This acted as a wedge, cracking the head of the wooden tiller. Fortunately we caught that early, and with a new bolt and a plate on each side, it will be fine. 
  • The bolt was all-thread. NEVER EVER use an all thread bolt for a pivot. They don't fit well and the threads are like a file inside the hole, cutting the hole larger, in this case about 1/8-inch larger. I filled the hole with epoxy and chopped glass cloth (cut 1/2-inch wide strips and stuff them in the hole after filling with epoxy--it really helps) and re-drilled. Good as new.
  • Never use fender washers where there is real load. They bend too easily. Both were bent into cones and had crushed the wood. Fill, sand, and install 1/8-inch aluminum plates. 
  • It was also just do for sanding and varnish.
Tiller to cassette fittings:
  • The PO used a galvanized bolt in the upper. That took some time. Others were seized with time. ALWAYS use Tefgel or Locktite Marine Anti-Seize.  
The cassette. These are the serious problems. The lower portion is shattered and the lower rudder bearing is just floating around. The PO attempted some repairs with Bondo. Good grief.


  •  The upper pivot was broken loose and worn oversized. The carbon bushing was just floating in the core foam. Fill and re-drill. And add some fresh fiberglass to replace damaged laminate.
  • Add some glass to reinforce the top. The cassette was molded in two parts that were just glued together, and they are thinking about separating. A few layers of 6-ounce cloth should be enough to discourage movement.
  • The lower bearing area was a complete rebuild. Grind out everything that is bad, replace with more glass, including multiple layers of unidirectional on the sides. Mostly 17-ounce triax and unidirectional instead of 6-ounce cloth, since real strnegth is needed. Also filling cracks in foam with epoxy.
So how is it coming?

 I ground off the junk and replaced it with 3 layers of 12-ounce unidirectional and 2 layers of 17-ounce biax, with 6-ounce cloth over everything. Strong.

 A thick filet holds the fence in place.

 Pivot holes in the cassette and tiller had to filled with epoxy+glass and redrilled. I also replace the worn surface glass with 2 layers of 17-ound biax. Should be better than new.


All that remains for the rudder and cassette is a final sanding and 2-3 layers of paint. The tiller needs ~ 3 layers of varnish. The anchor well cover is still drying in the sun. One more day, and then I can fit the core and cover it up, plus 2 coats of paint. 
Repairs like this are expensive, not because they are difficult per se, but because the many steps are time consuming.

Zoom! Not my boat, but a sister F-24.

Wednesday, June 13, 2018

Bad Core : Removing the inner skin and cleaning out the mess.

The good news is the only bad core is on the anchor well cover and could easily be taken home for repair. The bad news is that the core is bad. Very bad. This will probably be a day-by-day report, just because I feel like doing that way. Projects are always 80% waiting for stuff to cure.

Cutting the inside skin off. A hand grinders is a DIY essential; this only took a few minutes. Do wear goggles over your glasses, gloves and footwear; these are more dangerous than they appear. Yes, a wheel gaurd would help, but they constantly in the way.

We had noticed that the cover was spongy and heavier than it should be. I had also notice that when open it weeped water. It seems they had scimpped on resin when the laid it up, leaving pin holes all over. Since the locker is constantly wet, due to the drainage design, the core was constantly exposed to water vapor from the underside.

Not very water tight. Those are holes.

Removing the inner skin was a simple matter of grabbing one corner and pulling...


To releveal this....


And so I set about removing all that I could with a drywall knife and hammer. In fact, some of the core was left, since it could not be removed without damaging top skin. I treated what remained with a borax anti-rot formulation and left it in the sun to dry. It's interesting how the sections with enough resin were often fine, protected by resin in the cuts between the blocks. Right next to a good cell was mush.

I'll give it ~ 3 days in the sun to dry, and then replace the core and laminate a new inner skin, probably 2 layers of 6-inch cloth, lapping on to the edge flange, which is a little thin for my taste. A couple coats of paint and she'll be good as new, actually better.

Sunday, May 27, 2018

Sour Milk. Lactic Acid (CLR) is Best for Descaling Aluminum

Spring is cleaning season, and in the case of the F-24, that meant eating the scum off the sides of the amas. We had kept the boat folded in a marina for a year, which means the outsides of the hulls laid in the water, growing horrible stuff without even the protection of anti-fouling paint. We gave it a jimmy scrub when we moved it to Deal, but it was still bad. Acid washing is the cure for waterline stains and most growth.

But what acid? Some swear by muriactic (hydrochloric) acid because it is fast and cheap. Some prefer white vinegar (acetic acid) because it is low-hazard to the body. In fact, neither are all-around optimal for most things.

First, toxicity. Hydrochloric acid breaks down into chloride (sea salt) when spent, so it is harmless to the environment. You can get burned, but there is no long-term toxicity (stomach acid is mostly HCl). Vinegar is non-toxic and biodegradable. But so is lactic acid (the stuff that makes milk sour), the primary ingredient in CLR.

Which is best? It depends on the materials involved. I did some tests, descaling joker valves, with the results below. I also placed metal samples in with the acid, to measure corrosion rates.


The bottom line? Look at the green lines for metals loss during the cleaning period. CLR as clearly safest for aluminum, HCl is safest for steel (with CLR a good second), and other acids proved slow and quite damaging.

  • Outboards. If aluminum is a concern, CLR will work 20 times faster than vinegar and cause 4 times less damage than vinegar. I also use CLR in the bathroom at home, where it removes scale without risk to aluminum shower doors.
  • Steel. If only steel parts or for plastics, let it rip with HCl.
  • Vinegar. Save it for salads.
  •  Oxcalic acid. Other than brightening teak, keep it away from the boat. In the case of teak, it removes a layer so use it with extreme caution. I suggest keeping it way from the boat.
Overall, sour milk in the form of CLR rules the day. And if a little gets in the water... it's just spilled milk. Really.

Sunday, May 20, 2018

Sloppy Sailing

(First posted January, 2012)

It doesn't come easily to me. Sloppy dress--easy. Sloppy appearance--haven't shaved in a week. Sloppy topsides--easy. I've learned to like substantial rub rails and dock rash, and can ignore seagull poop, at least in moderation. Sloppy marinas-- my favorite ones, since properness for appearance sake rubs me all wrong. But sloppiness in functional things also rubs at me, even on my laziest day. Perhaps even in this, I need to learn to change gears.

Being an engineer works against me. I like things to work correctly and efficiently. There's also my active nature; my wife thinks I just can't sit still.  She says I should relax more when cruising, not understanding that tinkering and adjusting and generally fooling with things is at the heart of messing about in boats. Just sitting--if for too long--is torture. Give something to fix--not something unpleasant, preferably something rewarding--and I'm much happier.


Sloppy sail trim. I just can't do it.  I've owned too many performance boats, where speed was everything.  Why would I buy a high performance boat, suffer all of the compromises that accompany that choice, only to sail slowly and poorly? As a cruiser I still see poorly trimmed sales as just plain ugly. I don't grind and trim all day long, but I spend a few minutes getting very close to right and then leave the autopilot to stay close. But I hate the look of a wrinkled sail, over trim, or an uncontrolled twist that would better suit an Annette Funicello movie.

Sloppy anchoring. I loath doing something twice that I could have done once, had I paid more attention. I enjoy doing something efficiently, easily, and with the minimum number of steps. I can't just drop a pile of chain on top of the anchor and hope for the best. I can't just drop a second anchor, some place or other, because I'm too lazy to set the first one properly and I worry. If a second is needed, it will be placed rationally and the rodes connected rationally. I'll spend a few moments gauging what the tide will do and how I will swing. I'll pay attention to the feel of the ground when the anchor takes hold, estimating what the bottom must be like and how the anchor will like it. I like to spend the afternoon securely parked and the night sleeping peacefully. Sloppy anchoring would give me more exercise. Mid-night excitement too.

Sloppy navigation. Well, perhaps I am guilty of this.  I've spent too much time with shallow draft boats. I tend to glance at the chart in the morning, memorize what I think I need to (where I'm going and places the bottom might be shallow and rocky), and then just sail.  I watch the GPS in a general way, but not the details.  I've sniffed the bottom a few more times than was strictly necessary, entering an unmarked creek while distracted by daydreams of what the afternoon at anchor might bring.  But I don't think I'm sloppy when it counts.  Grounding on a coastal sandbar to be deadly. If the Chesapeake had rocks I'd be more attentive. I've piloted many miles of hazardous coastline; I'm only sloppy when it's safe to be.

Sloppy docking. Nope, just too embarrassing. If getting sloppy means putting other boats at risk, it's not acceptable. Now, when it comes time to flemish the dock lines, scrub the deck, and hide all of my "cruisers stuff", I'm sloppy and loving it . I don't have a problem with leaving a beer bottle by the helm. I've sailed off with fenders hanging more than once; I swear some of those were intentional-- a short move--and the rest.... well, at least I'm not sloppy when it comes to trying  fenders in place. Of course, I did leave a rather nice spring line in Cape Charles, nicely coiled on the dock.  It occurred to me when I reached Cape May.

I'm too cheap to be sloppy with sail covers or window covers. But I don't mind a kayak lashed to the side decks and a jerry can lashed to the stern quarter rail, if they serve a good purpose. I don't mind fishing from the dock or leaving some cut bait on a board, so long as we are still fishing.

Sloppy planning. I've made progress. When I first started distance planning, I made a list. Now I leave more on the boat and sometimes untie the lines without any firm notion of where I'm going, the destination determined by the wind forecast. A float plan? Pretty funny.

Unfortunately, the reality is the opposite. Somewhere in my subconscious, as I motor out the channel, I'm considering the forecast I read, considering the waves I see on the horizon, factoring my mood, and making a very informed decision. Sloppy and rash planning is just plain difficult for us old farts; we've made or seen a lot of mistakes and just can't aim ourselves  toward a grand epic without real effort. Descending from a grand snow and ice climb in the Tetons with a long-time partner, we questioned why, in all the years of climbing together we had never experienced a real epic, not in thousands of climbs. Although we had cut it a bit thin a few of times, we knew the line between epic and dead is thin, and we maintained a safety margin. We had stayed just within our abilities.

Sloppy maintenance. I'm not sloppy when it comes to quality of work. I keep my boats a long time, really try to make every fix or modification and honest improvement, and then sell them for more than I paid. I keep my work area neat when on the hard; basic courtesy to the yard and my neighbors. But if we're talking winterizing and spring clean-up... well, I've covered that before. I'm not above used parts, dumpster diving, and re-purposing, but only if I can match or improve upon original quality.

____________

Maybe there is hope for me. I have a few sloppy traits--the megayacht group  in Cape May pointed them out--a foundation I can build upon. I could learn to like the curve of a stalled sail. I can try catching fish with the spinnaker. I suppose, so long as I am becoming old and physically decrepit, I need to encourage decay of my mental faculties without further delay.