The Irony Spice
Joining chain to rope in a manner that allows it to feed smoothly has always been something of a challenge. Back in the day of weak chain and hemp rope, a 2-strand splice was developed to allow bulky rope to fit through a link. One strand was unlaid way back and the remaining strands go through the link in opposite directions, laying flat and sharing the load evenly. Even with the loss in strength around the link, 4 strands were as strong as the 3 strands of the rope. One of the strands would be laid back in the empty groove and terminated in the manner of a long splice, and the other back tucked like a 3-strand eye splice.
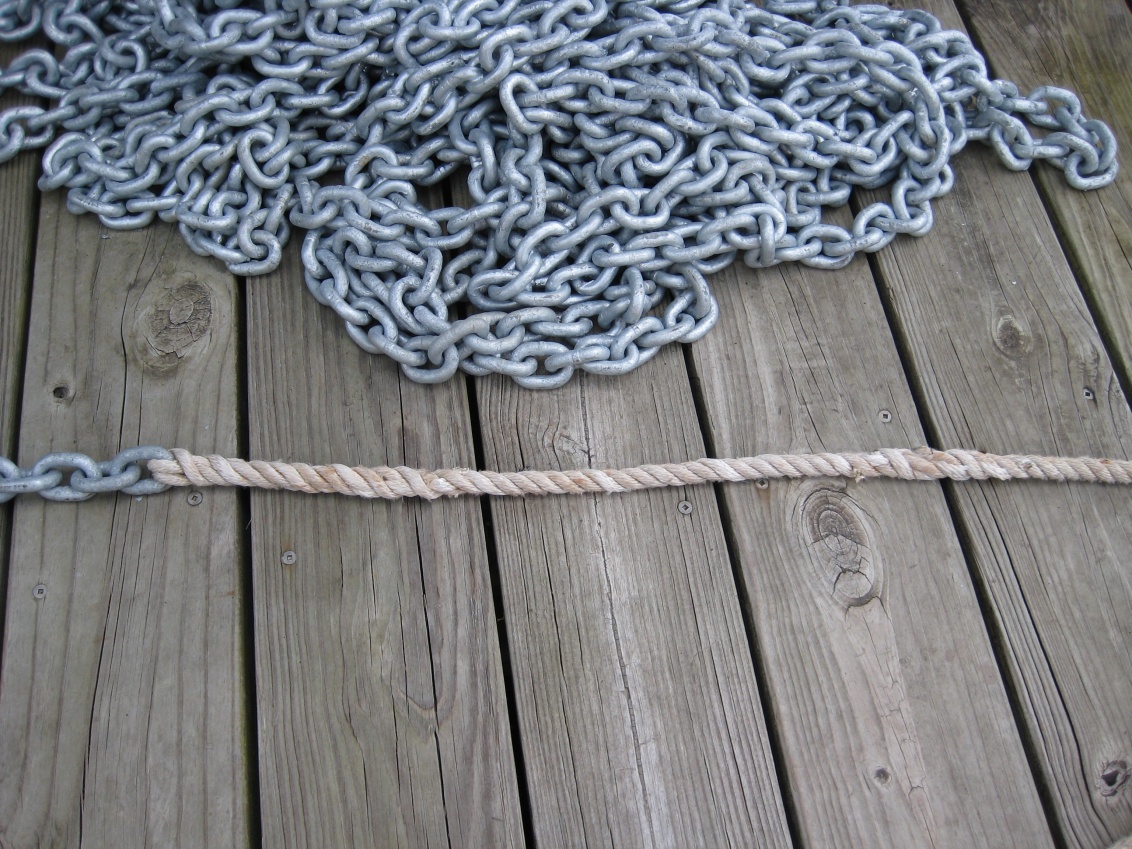
Feeds through a windlass like silk
Then ropes got smaller and stronger, and a simple 3-strand back splice or crown splice became the standard. The smaller line was as strong as BBB chain. Then we introduced G43 and G70 high tensile chain. By the time we use a rope as strong as the chain, the splice was too big for the windlass gypsy, and so the irony is we find ourselves returning to 19th century splicing technology.
It is a little more difficult to get the strains even, and the spice takes a few minutes longer, but you gonna love the way your windlass feeds. No more jams!
-------
The name "irony splice" was coined by Brian Toss, and this method is well described in his highly-recommended book,
The Rigger's Apprentice. It takes considerable practice to get the tension just right, but if you have any ability with splices, by the third or fourth try you should be in good shape.
The following instructions are for half-inch three strand rope. For larger diameters, increase the spacings proportionately.
The Irony Splice--Instructions
- Place a light seizing around the rope about 5 feet from the end.
- Tape each strand separately and securely.
- Unlay one strand back to the seizing, without disturbing the other two strands.
- Place a light seizing across the two remaining strands about 3 feet from the end.
- Untwist the two strands and lead them through the last link of chain in opposite directions.
- Take one of the strands and lay it into the space left vacant by the first strand that was unlaid. Be careful to maintain twist in that strand, and to choose the strand most naturally lies in that vacant space.
- When this strand meets the first seizing and the first strand that was unlaid, join the two strands in the manner of a long splice. This will require a locking overhand knot, back tucking both strands, and tapering.
Line re-layed, tying the overhand to start the long splice join.
Long splice finished (not trimmed), ready to do the tuck-backs at the chain end.
- Take the remaining loose strand, still hanging loose at the last link of chain, and tuck it back at least eight times in the manner of a back splice. Taper carefully.
Much smaller in diameter, more flexible, and much easier to feed than the common backsplice. They got prettier with practice, but this one tested at 85% line strength. I eventually reached near 100%.


